Blog
Battery Posts & Terminals: Types, Materials, Cleaning & Troubleshooting
2026-05-24 | Calvin
Battery posts and terminals are the smallest components in your electrical system — and among the most consequential. A corroded terminal the size of your thumb can render a perfectly healthy 100Ah battery unable to start an engine or power a system. A loose clamp adds resistance that wastes energy, generates heat, and causes intermittent failures that are notoriously difficult to diagnose.
Most guides treat this as a simple topic. It isn't. Terminal type, post dimension, material conductivity, torque value, corrosion color — each of these tells you something specific and actionable about what's happening in your system.
This guide covers all of it: every terminal and post type with actual dimensions, a materials comparison with conductivity data, step-by-step cleaning and replacement procedures, torque specifications by application, and a corrosion color diagnosis chart that tells you why corrosion formed — not just how to clean it off.
Part 1: Battery Terminals vs. Battery Posts — Understanding the Difference
These two terms are often used interchangeably, but they refer to different physical components.
A battery post is the metal protrusion on the battery itself — the contact point that belongs to the battery. It comes in various shapes and sizes depending on the battery standard.
A battery terminal is the connector that attaches to the post from the cable or wire side. It's the clamp, lug, or bolt fitting that completes the electrical circuit between the battery and the load.
Together, they form the connection point through which all current flows. A mismatch between post and terminal — even a minor one — introduces resistance, accelerates corrosion, and degrades system performance over time.
Every battery has two terminals:
- Positive (+): Marked red, or with a
+symbol - Negative (−): Marked black, or with a
−symbol
On SAE-standard batteries, the positive post is physically larger than the negative post — a deliberate design choice to prevent reverse polarity connections. On JIS and other standards, the sizing relationship may differ.
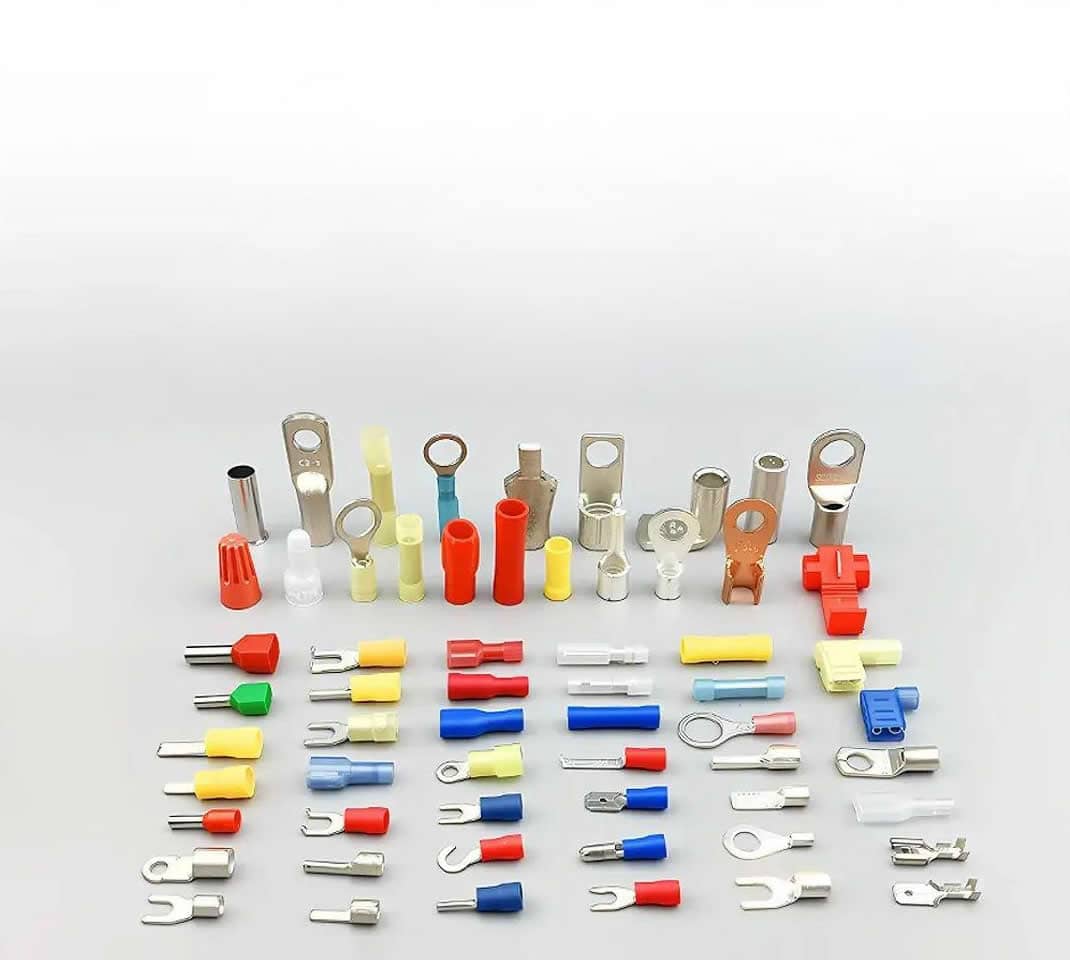
Part 2: Types of Battery Posts — Full Breakdown with Dimensions
SAE Posts (Society of Automotive Engineers)
The most widely used post standard in the world, found on the vast majority of North American and European automotive batteries.
- Positive post diameter
- 17.5 mm (0.688 in) at the base
- Negative post diameter
- 15.9 mm (0.625 in) at the base
- Post height above battery case
- approximately 17–19 mm
- Taper angle
- approximately 1.5–2° (conical)
Best for: Passenger vehicles, light trucks, motorcycles, marine (starter applications), recreational vehicles.
Key characteristic: The intentional size difference between positive and negative posts prevents reverse polarity connections. If your clamp won't seat fully on a post, that's often the warning.
JIS Posts (Japanese Industrial Standard)
JIS posts look nearly identical to SAE posts at a glance, which is the source of one of the most common wiring mistakes in automotive work.
- Positive post diameter
- approximately 14.7 mm
- Negative post diameter
- approximately 13.3 mm (both smaller than SAE equivalents)
- Trade name
- "pencil posts"
Best for: Japanese-market vehicles (Honda, Toyota, Nissan, Mazda), smaller Asian motorcycles and powersports equipment.
Critical warning: Never force an SAE clamp onto a JIS post. The clamp will appear to seat but creates a poor contact surface, elevated resistance, and a real arcing risk. If your clamp slides on too easily or with obvious lateral play, you likely have a dimension mismatch.
Threaded Posts
Threaded posts use screw threads machined directly into or onto the post, with nuts and bolts providing the clamping force. This eliminates the clamp-on pressure fit entirely, substituting mechanical thread engagement for contact.
Common thread specs:
- M6 × 1.0 (common on smaller batteries and motorcycles)
- M8 × 1.25 (common on mid-size stationary and industrial batteries)
- 3/8-16 UNC (common on marine positive posts)
- 5/16-18 UNC (common on marine negative posts)
Best for: Heavy-duty industrial, marine, solar/stationary storage, forklift batteries.
Advantage: Threaded connections are far more resistant to vibration loosening than clamp-on terminals, making them ideal for marine environments and commercial vehicles where vibration is constant.
Tapered Posts
Tapered posts are conical rather than cylindrical. The terminal slides over the cone and is clamped in place, with the taper geometry increasing contact area as the clamp tightens.
Best for: Many standard automotive batteries use a gentle taper on SAE-style posts.
Key maintenance point: The tapered surface is where corrosion most often hides. The cone geometry creates a crevice at the base of the terminal clamp that traps moisture and acid vapor, making this area the first to corrode and the last to be cleaned thoroughly.
Side Posts
Side post batteries have recessed female threads on the battery's side face rather than protruding posts on top.
- Thread spec
- SAE 3/8-16 internal threads (most common, used on many GM vehicles)
- Connection method
- Short bolts thread directly into the battery case
Best for: Vehicles with tight under-hood space (many General Motors models), applications where top-post clearance is limited.
Advantages: Lower corrosion exposure (recessed design reduces contact with moisture); significantly lower risk of accidental top-post short circuit from dropped tools.
Disadvantages: Harder to visually inspect for internal corrosion; requires specific side-terminal adapters for jump-starting; more difficult to add aftermarket accessories.
L-Terminals
L-terminals feature an L-shaped post with a bolt hole through the vertical side. The cable terminal is secured with a bolt passing through the hole.
Best for: European vehicles, motorcycles, small-engine equipment (lawn mowers, snowmobiles, ATVs).
Advantage: Compact form factor works in tight battery compartments.
Limitation: Lower maximum current capacity compared to larger post types; not suitable for high-discharge applications.
Stud Terminals (Heavy-Duty)
Stud terminals are threaded rods extending directly from the battery case. Multiple ring-lug cables can stack on a single stud and be secured with a nut — essential in commercial applications where multiple circuits connect at the battery.
Common sizes: 5/16 in, 3/8 in, M8, M10 depending on application.
Best for: Commercial vehicles, golf carts, industrial equipment, high-current solar battery banks, forklifts.
Note: Installation and removal requires proper tools — this is not a quick-disconnect design. Stud terminals are built for permanence and high-current reliability, not convenience.
Marine/Dual Post Terminals
Marine batteries typically combine two post types on a single terminal — an SAE-style tapered post for standard cable clamps, plus a threaded stud (typically 3/8-16 positive, 5/16-18 negative) for ring-lug accessories.
This dual-post design is specifically valuable on boats, where the starter motor uses the SAE connection and multiple accessory circuits (bilge pump, navigation electronics, VHF radio) use ring-lug connections to the stud.
Part 3: Battery Terminal Types — What Connects to the Post
| Terminal Type | Post Compatibility | Typical Use | Max Current | Tool Required |
|---|---|---|---|---|
| SAE clamp | SAE, tapered | Automotive, light marine | 200–400A | Wrench |
| JIS clamp | JIS only | Japanese vehicles | 200–300A | Wrench |
| Ring lug | Threaded, stud | Marine, solar, industrial | Varies by wire size | Wrench/socket |
| Side-terminal bolt | Side post (3/8-16) | GM vehicles | 200–400A | Socket |
| Marine wing nut | Threaded stud | Boats, RVs | 200–300A | Hand-tight + wrench |
| L-terminal bolt | L-post | Motorcycles, small engines | 50–150A | Socket/screwdriver |
| Stud + nut | Stud terminal | Commercial, industrial | 400A+ | Socket |
Part 4: Terminal Materials — Conductivity and Trade-offs
Material choice directly affects conductivity, corrosion resistance, and service life. Here's what the data shows:
| Material | Conductivity (% IACS) | Corrosion Resistance | Mechanical Strength | Relative Cost |
|---|---|---|---|---|
| Pure copper | 100% | Moderate (oxidizes) | Moderate | High |
| Brass (Cu-Zn alloy) | ~28% | Good | High | Medium-high |
| Lead | ~7% | Poor | Low | Low |
| Zinc-plated steel | ~15% | Good (zinc layer) | High | Low-medium |
| Tin-plated copper | ~95% | Excellent | Moderate | High |
Copper offers the best conductivity of any common terminal material — pure copper terminals minimize voltage drop under heavy current load. The trade-off is oxidation: uncoated copper forms a greenish patina (copper oxide/carbonate) that reduces surface conductivity. Quality copper terminals are typically tin-plated or silver-plated to prevent this.
Brass (an alloy of copper and zinc) offers a practical balance. It's significantly more conductive than lead, considerably more corrosion-resistant than pure copper, and mechanically stronger than either. Most premium aftermarket and OEM terminals for automotive and marine applications are brass. With an electrical conductivity rating around 28% IACS, brass offers much lower electrical resistance compared to lead at roughly 7% IACS.
Lead remains the most common material for budget automotive terminals. It's inexpensive, easy to form, and works adequately under normal automotive loads. Its weaknesses — relatively poor conductivity, susceptibility to corrosion, and mechanical softness — become significant in high-demand or marine environments. Over-tightening lead terminals can deform the material, creating false security with poor actual contact.
Practical recommendation by application:
- Standard automotive (moderate climate): Lead or brass clamp terminals work fine with regular maintenance
- Marine, coastal, or high-humidity: Brass minimum; tin-plated copper preferred
- High-current applications (inverters, winches, commercial): Copper or heavy-gauge brass with ring lugs
- Solar/stationary storage: Tin-plated copper ring lugs on threaded posts
Part 5: Understanding Battery Terminal Corrosion
Corrosion is the most common terminal problem — and the color and location of corrosion contain diagnostic information most guides ignore.
What corrosion actually is
Most terminal corrosion is lead sulfate, copper carbonate, or zinc oxide — byproducts of the chemical interaction between hydrogen gas venting from the battery, atmospheric oxygen and moisture, and the terminal metal itself. Corrosion is generally caused by hydrogen gas released from the battery while charging, along with moisture and other salts and minerals in the atmosphere, which combine to create a corrosive environment.
Corrosion color diagnosis
- White or grayish powder
- Typically lead sulfate or zinc oxide. Most common on lead terminals in moderate climates. Indicates normal chemical exposure — clean and protect.
- Blue-green powder
- Copper carbonate/copper oxide — your terminal or cable end is copper or brass. This often forms at the cable crimp point where moisture wicks into the stranded wire. Clean the terminal but also inspect the cable end; if corrosion has traveled up the stranding, the cable needs replacement.
- Yellow or brown crust
- Often indicates electrolyte (sulfuric acid) leakage from a flooded lead-acid battery — either overfilling or overcharging has forced acid out of the vents. Clean the terminal, but the real fix is addressing the battery/charging system. This type of corrosion is significantly more aggressive.
- Heavy buildup predominantly on the negative terminal
- Corrosion typically forming around the negative terminal suggests the battery is undercharging due to a lack of adequate driving time. Short trip driving, a failing alternator, or a parasitic draw are common culprits.
- Heavy buildup predominantly on the positive terminal
- Corrosion around the positive terminal is generally believed to be the result of overcharging from the alternator. Test your alternator output (should be 13.5–14.8V at idle). A faulty voltage regulator pushing above 15V will cause aggressive positive-terminal corrosion and battery damage.
Part 6: How to Clean Battery Terminals (Step-by-Step)
What you need: Baking soda, distilled water, wire terminal brush or battery brush tool, old toothbrush, two wrenches, nitrile gloves, safety glasses, clean cloth, dielectric grease or anti-corrosion spray.
Safety first: Battery acid and hydrogen gas are both present. Never smoke near a battery. Never create sparks near the terminal area. Keep your face away from the terminal area when disconnecting — especially flooded lead-acid batteries.
Disconnect in the correct order
Remove the negative (−) cable first, then the positive (+). This sequence prevents sparking: when you remove the negative first, the battery is no longer grounded, so touching the positive terminal with a metal tool cannot complete a circuit and cause a spark. Reconnecting follows the opposite order — positive first, then negative.
Inspect before cleaning
Look at corrosion color and location (see Part 5 above). Note which terminal is affected and how severely. Tug the cables gently — if the cable end pulls off the post with minimal force, the clamp has failed and needs replacement, not just cleaning.
Apply cleaning solution
Mix one tablespoon of baking soda into one cup of warm water. Pour or spoon the solution directly onto the corroded terminals and posts. You'll see fizzing immediately — this is the alkaline baking soda neutralizing the acid-based corrosion. Allow it to work for 1–2 minutes. Alternatively, commercial battery terminal cleaners (aerosol spray) work the same way with less mess, and many include a color indicator that turns red in the presence of acid.
Scrub thoroughly
Use a wire battery brush (the specialized tool with one brush for the post and one cup-shaped brush for the terminal clamp) to scrub both the post and the interior of the clamp. For side post terminals, use a small wire brush or the threaded end of your brush tool. An old toothbrush reaches tight spaces around the cable end. The goal is bare, shiny metal on both contact surfaces.
Rinse and dry completely
Wipe down with a damp cloth, then dry with a clean dry cloth. Moisture left on terminals begins the corrosion process again immediately. If you're in a humid environment, a brief application of compressed air helps.
Inspect cables and clamps
While the terminal is clean and disconnected, flex the cable near the clamp. Brittleness, cracking insulation, or obvious corrosion green traveling up the cable strands are signs the cable needs replacement, not just the terminal. Squeeze the clamp — a clamp that doesn't spring back or has cracked material needs replacement.
Reconnect and protect
Reconnect positive cable first, then negative. Tighten to the correct torque (see Part 7). Apply a thin coat of dielectric grease, battery terminal protector spray, or petroleum jelly (Vaseline) over the entire post and clamp contact area. This creates an oxygen barrier that dramatically slows future corrosion. Anti-corrosion felt washers placed between the battery post and the cable clamp provide additional protection and are inexpensive insurance.
Inspection schedule: Check terminals every 3 months in normal conditions, monthly in marine/coastal or high-humidity environments.
Part 7: Terminal Torque Specifications
Over-tightening is as damaging as under-tightening. Too loose: poor contact, heat, arcing. Too tight: cracked battery case (especially on side-post batteries), deformed lead terminals, stripped threads.
The correct spec: the terminal should not rotate on the post by hand, but should yield before the post or battery case does under load.
| Application | Terminal Type | Torque Spec |
|---|---|---|
| Standard passenger car/truck | SAE clamp | 4–7 Nm (3–5 ft-lb) |
| Heavy-duty truck/commercial | SAE clamp | 8–10 Nm (6–7 ft-lb) |
| Marine (wing nut) | Threaded stud | Hand-tight + ¼ turn |
| Marine (bolted ring lug) | Threaded stud | 8–12 Nm (6–9 ft-lb) |
| Side post (GM style) | Bolt | 4–6 Nm (3–4 ft-lb) |
| Motorcycle/small engine | L-terminal bolt | 2–4 Nm (18–35 in-lb) |
| Industrial stud terminal | Stud + nut | Per manufacturer spec, typically 15–20 Nm |
If you don't have a torque wrench for terminal work, the practical test is: tighten until the terminal cannot rotate by hand with moderate force, then add no more than a quarter-turn. For side-post terminals especially, stop the moment you feel significant resistance — the battery case is plastic and will crack before the bolt strips.
Part 8: How to Replace Battery Terminals
Terminals that are cracked, severely corroded through the metal, or have pulled-apart crimp connections cannot be cleaned back to reliability — they need replacement.
Tools needed: Wire cutters, wire stripper, cable crimping tool (or soldering setup), appropriate replacement terminal, wrench.
Disconnect and assess
Negative cable first, then positive. Examine where the cable meets the old terminal — is there clean copper wire, or has corrosion migrated into the strands? If corrosion has traveled more than a few millimeters into the cable stranding, cut back until you reach clean copper before fitting the new terminal.
Cut and strip
Cut the cable 1–2 cm above the old terminal to remove corroded material. Strip approximately 12–15 mm of insulation — enough to fill the terminal barrel without exposed wire beyond the terminal body.
Select the right replacement terminal
Match the terminal type to your post (SAE vs JIS vs marine threaded). Match the terminal barrel to your cable gauge — using a terminal sized for 4 AWG cable on a 2 AWG cable produces a poor crimp that will fail.
Crimp or solder
Crimp method: Insert stripped wire into the terminal barrel, ensure all strands are captured, and crimp firmly with a proper crimping tool (not pliers — pliers produce flat crimps that look secure but fail under vibration). A correct crimp leaves the terminal unmovable on the cable and shows no wire strands outside the barrel.
Solder method: Preferred for permanent marine or high-vibration applications. Crimp first for mechanical hold, then flow solder into the barrel from the wire end until it wicks through the strands. Do not apply heat from the terminal end — solder should pull toward the heat. Allow to cool without movement.
Protect and reconnect
Heat-shrink tubing over the cable/terminal junction seals the connection from moisture. Reconnect positive first, then negative. Torque to spec, apply anti-corrosion protection.
Part 9: Troubleshooting Common Terminal Problems
Engine cranks slowly or won't start
First check: Terminal tightness and visible corrosion before condemning the battery.
Diagnosis: Measure voltage directly at the battery posts (not at the cable ends) during cranking. If battery post voltage stays above 10V but terminal/cable-end voltage drops below 9V, the voltage drop is happening at the connection — clean or replace the terminals before testing the battery itself.
Intermittent electrical failures, dash lights flickering
Cause: Usually a loose terminal creating varying resistance as the vehicle flexes and vibrates. The connection makes and breaks microscopically.
Fix: Clean, inspect, and retorque both terminals. Check that the clamp body isn't cracked.
Battery won't hold a full charge
Diagnosis check: Corroded terminals increase charging resistance, causing the alternator to read full voltage before the battery is actually fully charged. Clean the terminals first, then retest battery charge acceptance. Many "bad batteries" are actually just dirty terminal connections.
Corrosion returns quickly after cleaning
Underlying causes: Overcharging (check alternator output voltage), electrolyte leakage (check battery case for cracks or overflow marks), inadequate sealing after last cleaning, or a battery approaching end of life that is venting excessively.
Fix: Address the root cause. Repeated corrosion on a well-maintained system is a symptom, not a primary problem.
Part 10: Battery Terminals for Lithium (LiFePO4) Batteries
Lithium iron phosphate batteries have specific terminal considerations worth addressing, since many readers are transitioning from lead-acid systems.
Terminal compatibility: LiFePO4 batteries use the same post standards as lead-acid (SAE, threaded, stud) depending on the application. Your existing cables will typically connect directly.
No venting, no acid: LiFePO4 batteries do not vent hydrogen gas or sulfuric acid under normal operating conditions. This means the corrosion mechanism that affects lead-acid terminal connections is largely absent — a significant practical advantage that extends terminal maintenance intervals substantially.
Terminal material: Copper or brass terminals are preferred for LiFePO4 systems, particularly high-capacity installations (solar, marine, commercial). The higher discharge rates that lithium systems can sustain make low-resistance connections more important — a corroded or undersized terminal that's tolerable in a lead-acid setup can become a meaningful performance constraint in a lithium system.
Torque consistency: Because lithium batteries can deliver high burst currents, terminal connections that work loose cause more dramatic failure modes than in lead-acid systems. Check and retorque periodically, especially in high-vibration applications.
Frequently Asked Questions
- Can I mix SAE and JIS terminals?
- No. SAE posts are 19.5 mm in diameter while JIS posts are 17.3 mm. Forcing incompatible terminals causes loose connections, voltage drops, and fire risks. Always use matching terminal types. If your vehicle has JIS posts, use JIS-specific clamps.
- Why does corrosion come back faster in summer?
- Heat accelerates the electrochemical reactions that produce corrosion. Overcharging the battery can raise its temperature too high, causing electrolytes to expand and escape through vents. Hot ambient temperatures also increase self-discharge and the rate of hydrogen off-gassing. In summer climates, increase your inspection frequency and ensure your charging system voltage is within spec (13.5–14.8V for most lead-acid batteries).
- How tight should terminal clamps be?
- Tight enough that the terminal cannot rotate on the post under firm hand pressure — not so tight that you risk cracking the battery case or stripping the post. For most automotive applications, 4–7 Nm (3–5 ft-lb). For heavy-duty truck applications, 8–10 Nm. Side-post terminals are the most vulnerable to over-tightening — stop the moment you feel significant resistance.
- Are copper terminals worth the cost upgrade?
- For standard automotive use in a temperate climate, brass terminals are the better value — nearly as conductive as copper, more corrosion-resistant without coatings, and more mechanically durable. Copper terminals pay off in high-current marine and solar applications, or anywhere maximum conductivity is critical, especially if they are tin-plated to control oxidation.
- Can corroded terminals drain my battery?
- Yes, in two ways. First, a corroded connection increases resistance, which can cause parasitic current draw through the corrosion layer itself. Second, heavy corrosion prevents the alternator from properly detecting battery state of charge, leading to chronic undercharging. Both effects gradually drain the battery. Corrosion is never cosmetic.
- What's the best anti-corrosion product for battery terminals?
- Dedicated battery terminal protector spray is most convenient and leaves a durable film. Dielectric grease is more protective but requires manual application. Petroleum jelly (Vaseline) is an effective and inexpensive alternative. Felt anti-corrosion washers soaked in anti-corrosion solution, placed between the post base and the terminal clamp, provide the most thorough protection for high-humidity and marine environments. Avoid standard grease — it doesn't have the corrosion-inhibiting chemistry needed.
- How do I know if I need new terminals or just cleaning?
- If the clamp body is cracked, if the metal has corroded through (leaving pits or holes), if the cable-to-terminal crimp is pulling apart, or if visible corrosion extends more than 2–3 mm up the cable stranding — replace. If the terminal is mechanically sound with heavy surface oxidation only — clean. When in doubt on a critical system, replacement terminals cost a few dollars and provide certainty.
Conclusion
Battery terminals and posts are the physical handshake between your battery and everything it powers. Like any connection point, they degrade through corrosion, mechanical loosening, and material fatigue — but unlike most electrical problems, terminal issues are almost always diagnosable with a visual inspection and a wrench.
Match your terminal type to your post standard. Use the right material for your environment. Torque to spec. Apply anti-corrosion protection every time you reconnect. Inspect every three months.
Done consistently, terminal maintenance adds years to battery life, prevents unpredictable failures, and ensures that the battery capacity you paid for actually reaches your load.
- Next:How Long Does a 3.7V Lithium-Ion Battery Last? Lifespan, Cycles & Proven Maintenance Tips
- Previous:How Long Do LiFePO4 Batteries Last? Lifespan, Cycle Life & Extension Tips
Contact Details
Lithium LiFePO4 Batteries and Lithium LiFePO4 Cells Supplier - LiFePO4 Battery Shop
Contact Person: Miss. Elena Wang
WhatsApp : +8615263269227
Skype : +8615263269227
WeChat :15263269227
Email : info@lifepo4batteryshop.com
All Products
- TC Elcon Charger (0)
- Headway Lithium Battery (6)
- Blade Battery (10)
- Semi Solid State Battery (6)
- A123 Battery (6)
- Sinopoly Battery (7)
- GBS Battery (16)
- CALB Battery (25)
- Cylindrical Cell (9)
- Energy Storage System (0)
- Battery Management System (15)
- Sodium ion Battery Cell (4)
- Lithium Titanate Battery (22)
- Ternary Lithium Battery Cell (12)
- REPT Battery (10)
- BYD Battery (5)
- CATL Battery (15)
- Thunder Sky Winston Battery (26)
- EVE Battery (35)
- LiFePO4 Battery Cell (20)
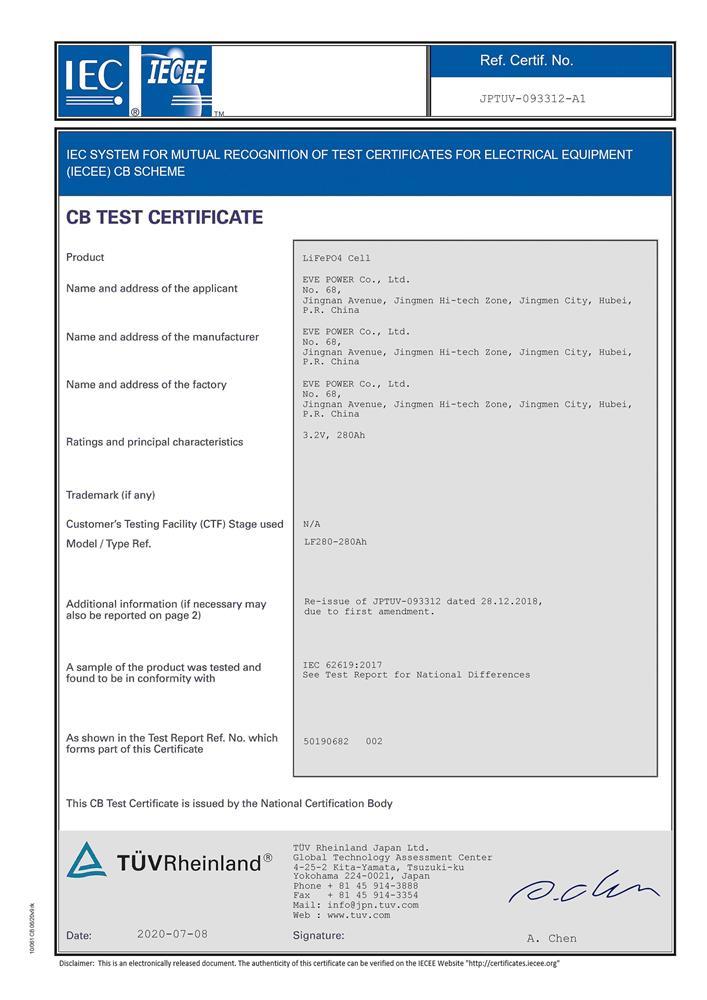
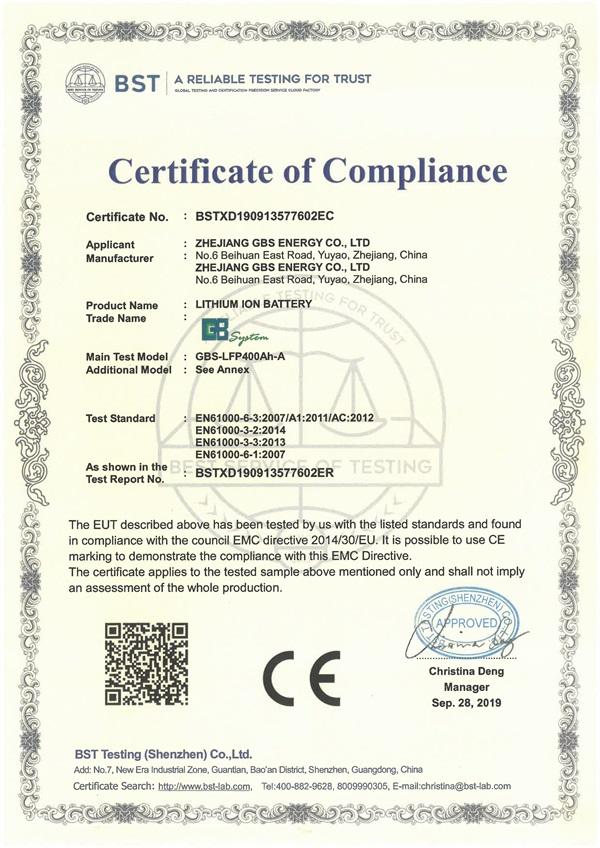
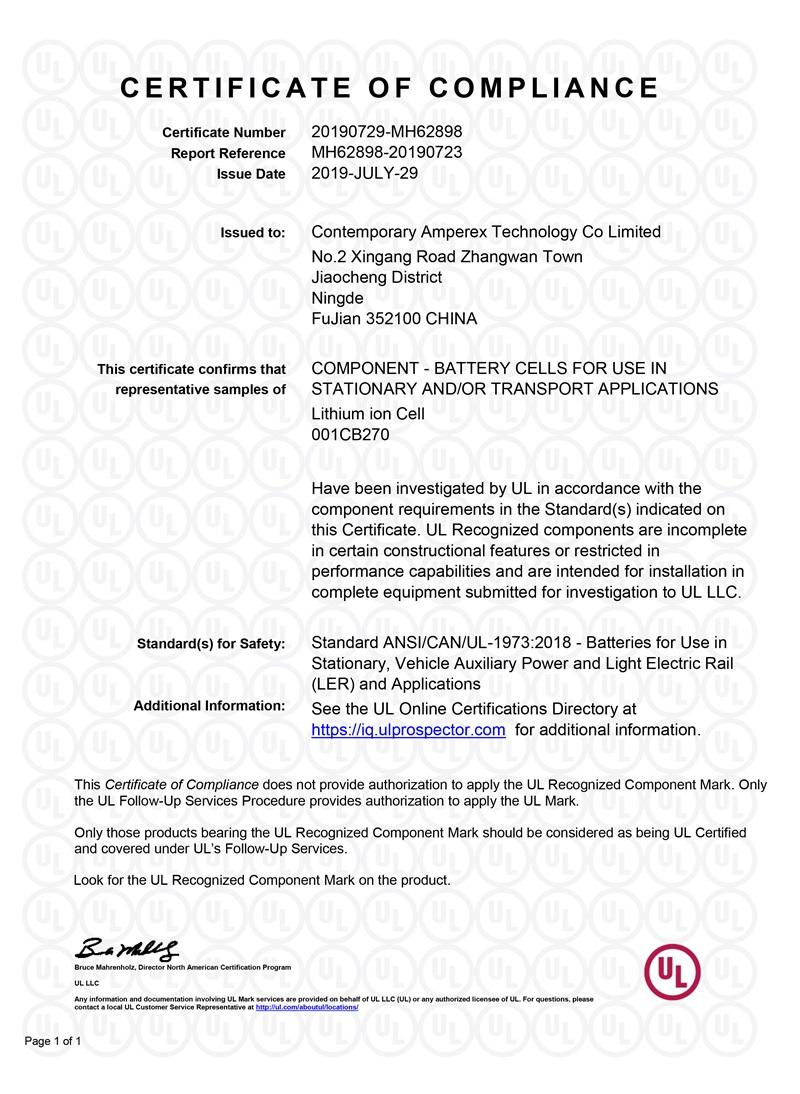
Certification
Customer Reviews
- I have fond memories of our meeting in Shanghai with LiFePO4 Battery Shop Elena. Your company left a strong impression on me with its impressive growth and professionalism. We both value straightforwardness and honesty, which I believe are the most important qualities in any partnership. I am confident that we can build a successful collaboration based on these shared values. —— Robert from USA
- I've been working with LiFePO4 Battery Shop for years, and their reliability is unmatched. While other suppliers frequently change sales teams, LiFePO4 Battery Shop has consistently provided exceptional service with a stable team. Their commitment to quality and customer support truly sets them apart. —— Henry from Australia