Blog
How to Test New LiFePO4 Cells: A Step-by-Step Guide
2025-07-09 | Calvin
So, you’ve just received a fresh batch of LiFePO4 (Lithium Iron Phosphate) cells—exciting stuff! These cells are well-known for their superior safety, long cycle life, and stable performance, making them an excellent choice for energy storage systems, EVs, and DIY battery packs.
But hold on—before you start wiring them up, there’s a crucial step you shouldn't skip: testing. Properly testing your new LiFePO4 cells helps ensure performance, safety, and longevity—and it gives you peace of mind knowing you didn’t receive a faulty batch.
In this guide, we’ll walk you through how to test your new cells step by step, and we’ll cover the key tools you'll need to do it right.
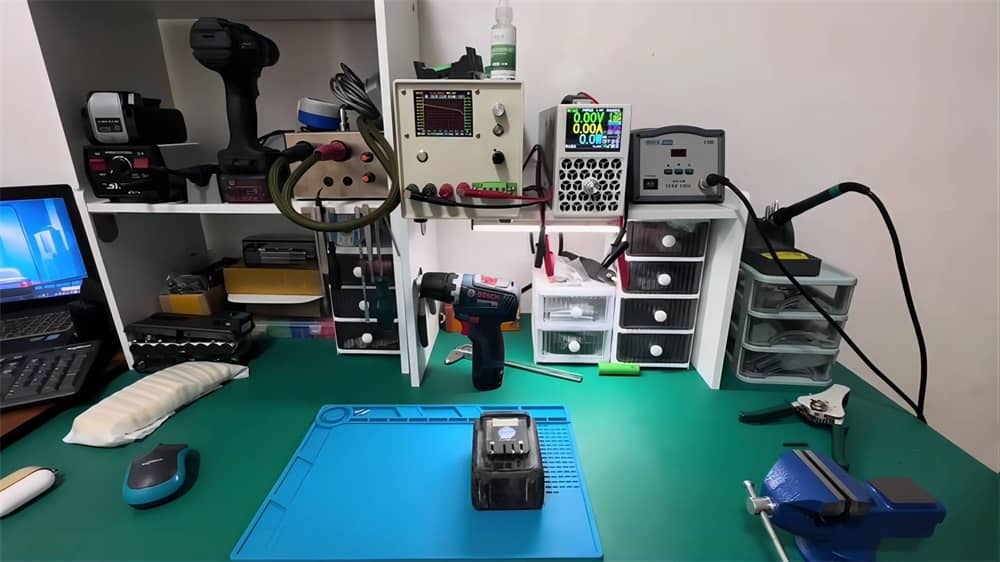
✅ Step 1: Check the Voltage
First things first: measure the voltage of each cell. This simple test tells you whether the cells were shipped in good condition and if any are outside of acceptable limits.
Tool Needed: Multimeter
Here’s how to do it:
- Set your multimeter to DC voltage.
- Make sure the cell is not connected to any circuit.
- Touch the red probe to the positive terminal and the black probe to the negative terminal.
- Check the reading.
A healthy LiFePO4 cell typically arrives with a voltage between 3.2V and 3.3V. Anything significantly outside this range may indicate a problem.
✅ Step 2: Test the Battery Capacity
Voltage alone doesn’t tell the whole story. To understand how much energy your battery can actually deliver, you’ll need to test its capacity.
Tool Needed: Battery Capacity Tester
A capacity tester will discharge the cell at a fixed rate while measuring how much energy (in amp-hours or watt-hours) it delivers. Follow the device’s manual for correct settings.
Make sure to:
- Fully charge the cell before testing.
- Monitor the discharge curve and note any irregular drops in voltage.
- Compare the actual capacity to the manufacturer’s rated capacity.
A difference of up to 5% is usually acceptable for new cells. Larger discrepancies may require further investigation or a warranty claim.
✅ Step 3: Physically Inspect for Defects
Visual inspection is often overlooked, but it's critical.
Here’s what to look for:
- Bulges or swelling – may indicate internal pressure or damage.
- Cracks or dents – can lead to safety issues.
- Leaking electrolyte or corrosion around terminals.
If you notice any physical damage, stop using the cell immediately and contact the supplier or manufacturer.
Tools You’ll Need to Test LiFePO4 Cells
To recap, here’s your essential toolkit:
| Tool | Purpose |
|---|---|
| Multimeter | Measures voltage and ensures cells are within the safe range. |
| Battery Capacity Tester | Measures actual battery performance (capacity). |
| Personal Protective Equipment (PPE) | Gloves, eye protection, and sometimes a respirator—safety first. |
| (Optional) IR Thermometer | Helps check if any cell gets abnormally hot during testing. |
Pro Tips for Safe & Accurate Testing
- Always test in a well-ventilated area.
- Use insulated tools to avoid accidental shorts.
- Test one cell at a time unless you're experienced with pack balancing.
- Label each cell with test results for future tracking.
Conclusion
Testing your new LiFePO4 cells isn’t just about catching defects—it’s about laying the foundation for a reliable, long-lasting battery system. With just a few simple tools and a bit of care, you can confidently move forward with your project, knowing your power source is solid.
- Next:Deep Cycle vs Starting vs Dual Purpose Batteries: Understanding the Difference
- Previous:Tesla Battery Types: A Simple Guide for Model S, 3, X, and Y
Contact Details
Lithium LiFePO4 Batteries and Lithium LiFePO4 Cells Supplier - LiFePO4 Battery Shop
Contact Person: Miss. Elena Wang
WhatsApp : +8615263269227
Skype : +8615263269227
WeChat :15263269227
Email : info@lifepo4batteryshop.com
All Products
- A123 Battery (5)
- Sinopoly Battery (7)
- GBS Battery (16)
- CALB Battery (22)
- Cylindrical Cell (3)
- Energy Storage System (0)
- Battery Management System (2)
- Sodium ion Battery Cell (3)
- Lithium Titanate Battery (16)
- Ternary Lithium Battery Cell (11)
- REPT Battery (8)
- BYD Battery (2)
- CATL Battery (14)
- Thunder Sky Winston Battery (21)
- EVE Battery (29)
- LiFePO4 Battery Cell (4)
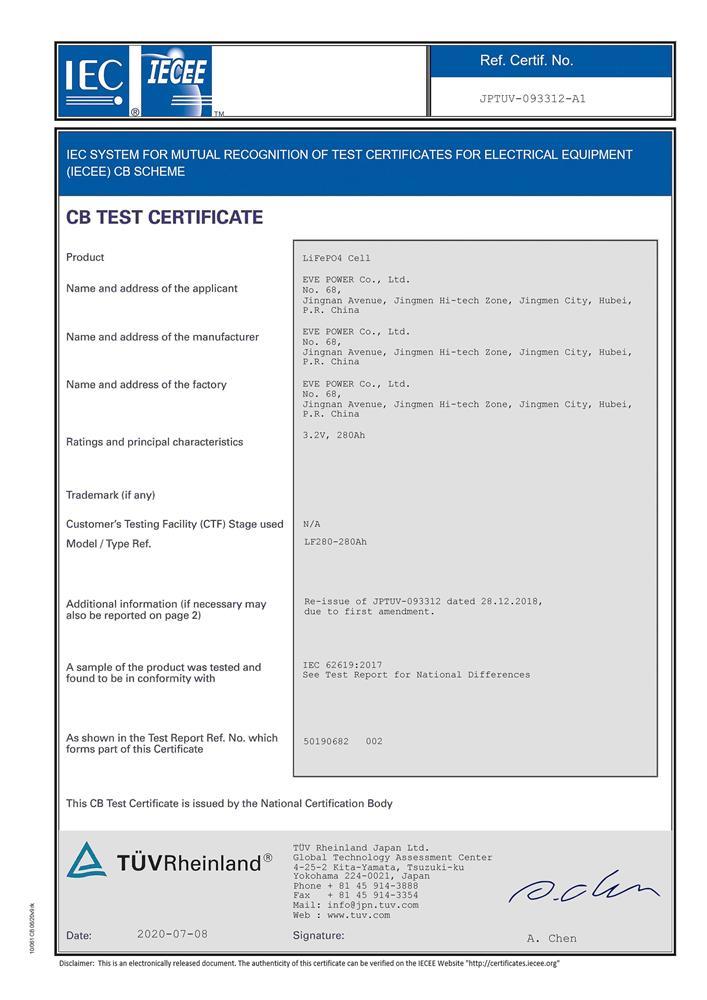
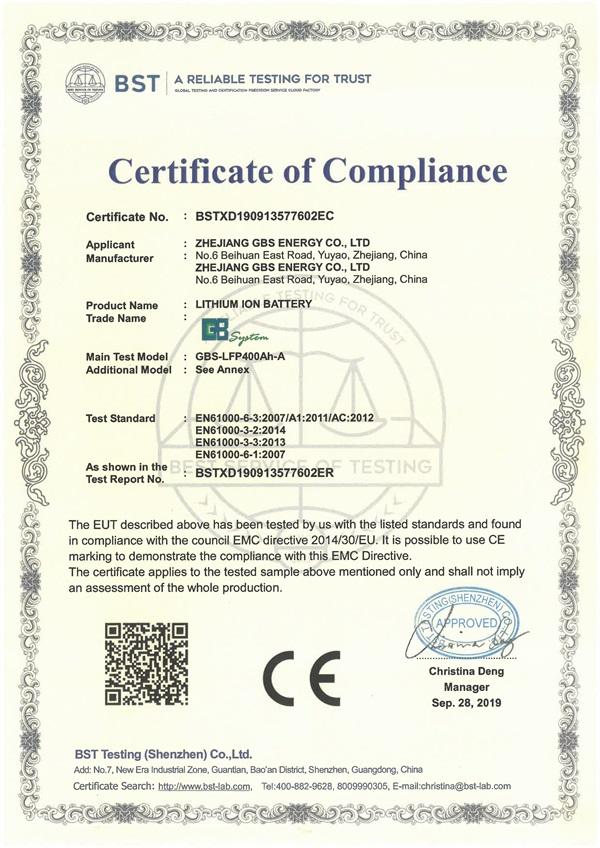
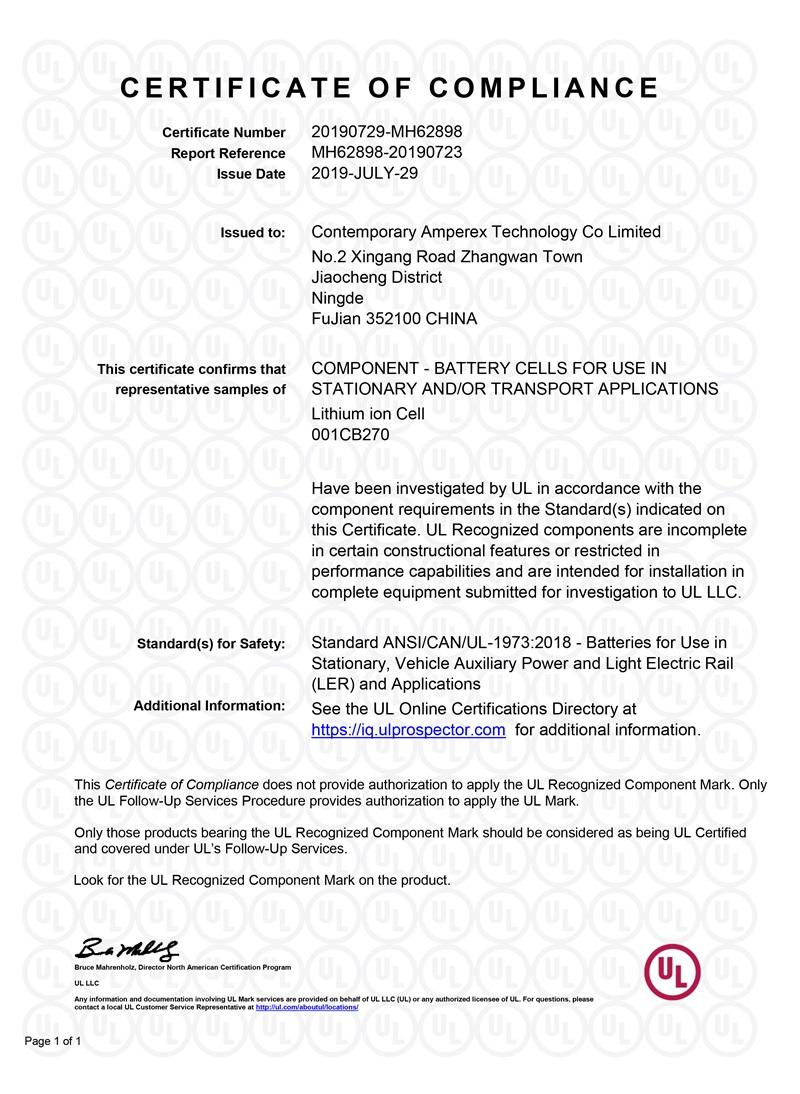
Certification
Customer Reviews
- I have fond memories of our meeting in Shanghai with LiFePO4 Battery Shop Elena. Your company left a strong impression on me with its impressive growth and professionalism. We both value straightforwardness and honesty, which I believe are the most important qualities in any partnership. I am confident that we can build a successful collaboration based on these shared values. —— Robert from USA
- I've been working with LiFePO4 Battery Shop for years, and their reliability is unmatched. While other suppliers frequently change sales teams, LiFePO4 Battery Shop has consistently provided exceptional service with a stable team. Their commitment to quality and customer support truly sets them apart. —— Henry from Australia